
Yellowstone - filming my first travel video
I filmed this travel video last month when I went to Yellowstone National Park. It was an interesting learning experience as I’d never done any filming or video editing before pen spinning aside.
This blog post is mainly about how that process went. My main two takeaways are 1) getting started is relatively easy and 2) filmmaking is a rich subject with endless things to learn and ways to have fun! While some of you might be into photography, I imagine that fewer of you have considered filmmaking. I didn’t until two months ago. So hopefully this can give you some ideas!
Getting started
First of all, how did I think of making a travel video? It was very much on a whim, really. I saw a gimbal at the Apple Store and thought it would be a fun toy to play with.
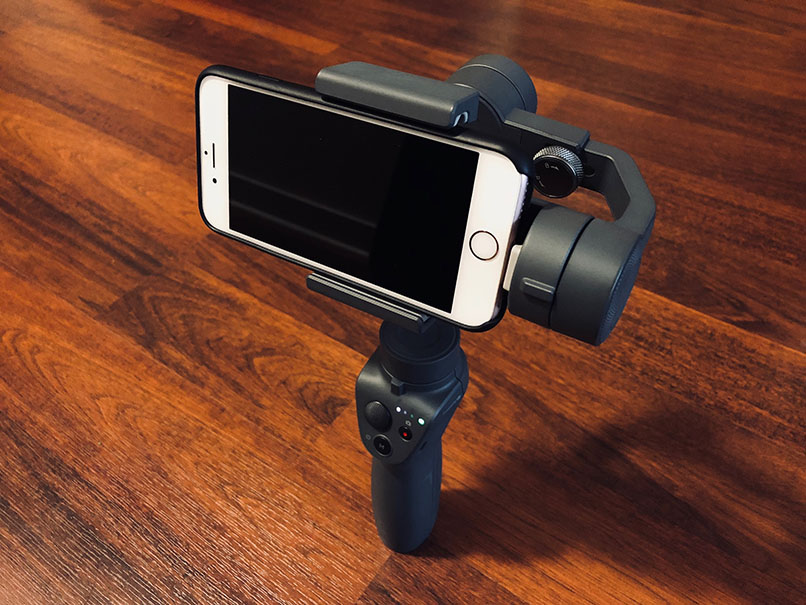
If you don’t know what a gimbal is, it’s a type of stabilizer that keeps the camera pointed in one direction. This gets rid of most of the shakiness from handheld footage. The one I got is part of the newer class of consumer models where you can even stick a smartphone on it. So that gets you instantly 80% of the way to making smooth, cinematic footage (smooth enough that software stabilization can handle the rest).
So there we had it: my equipment was going to be an iPhone X and a DJI Osmo 2 gimbal. That’s pretty much all I used, except is a few places like the bear scene where I also had a telephoto moment lens.
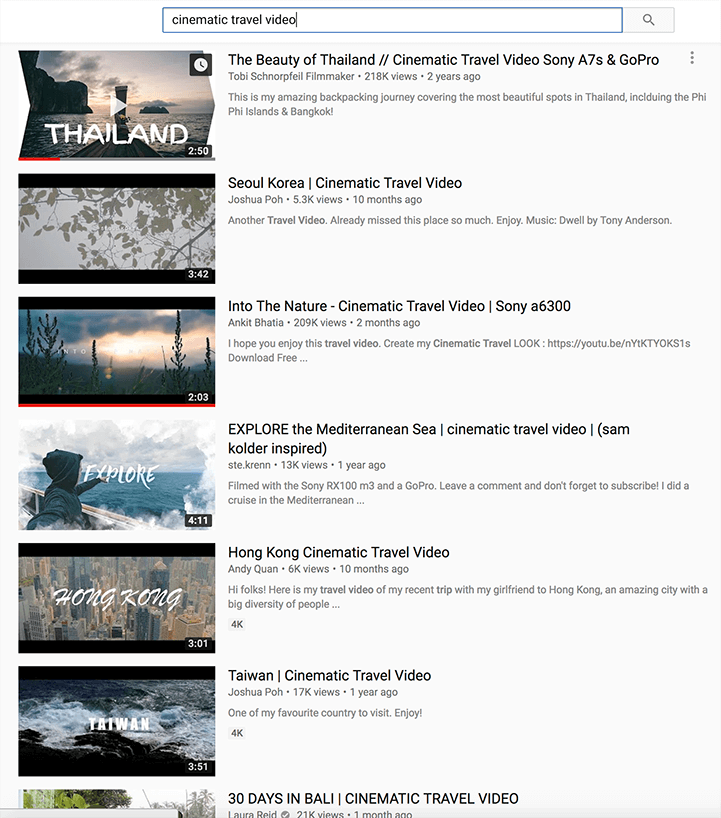
That was less than a week before the trip, so I promptly looked up how to get that cinematic look. As with many things, YouTube comes to the rescue.
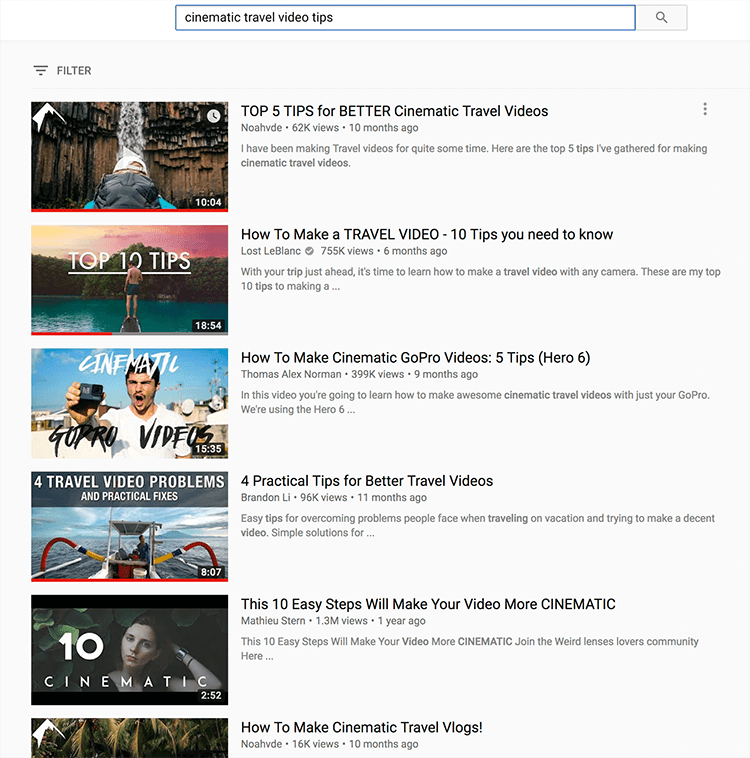
YouTube is really like its parent Google these days, where you can find just about anything. In any case, as you can see, there’s many videos with many tips. Too many to focus on at once. In the spirit of picking a subskill and having something to focus on, I felt that the highest leverage tips were 1) always move the camera and 2) don’t shoot at eye level.
Without camera movement (even simple pans, which is most of my video), the ‘video’ feels more like a slideshow than a film. Movement is what creates the cinematic feel. And it’s important to get interesting viewpoints – eye level pictures/videos tend to look like everyday tourist pictures. It boils down to being creative about finding varied angles or interesting close-up subjects.
There’s many other important elements to a good video for example, such as telling a good story and having good camera coverage. But those require some amount of planning which means you need something to plan for — a vision of what you want the video to be. But I figured it’s too early for me to have that sort of vision, which is why I focused on the more ‘technical’ aspects like movement.
Filming at the park
I don’t have too much to say about the actual filming process while I was in the park. Having watched some tutorials, the next step was mainly to get comfortable with the equipment, trying out a variety of movements/settings to get a feel of what gives good looking results. i.e., the practice part of theory & practice. One big difference in shooting for a cinematic video (v.s. just recording videos on my phone) is the mindset that most shots will be at most 1-4 seconds long in the final video, so it’s almost more like a sort of ‘motion photography’.
We stayed in West Yellowstone where we had wifi. So after each day at the park, I had time to watch a few travel videos on YouTube.
This is helpful to get a sense of all the different people’s styles and techniques they use, and get some ideas for shots to film. So I learned a bunch as the trip went along — I stopped shooting in 24fps and used 60fps as the default for example (more on that later). As mentioned in the beginning, filming for this trip was a very impromptu decision and I knew nothing about travel filming — I didn’t even know about Sam Kolder for instance (apparently, his videos have been influential to the point where having a Sam Kolder style video is a cliche).
Back home and editing
Similarly on the post-processing and video editing side, I had no experience. The closest was adjusting contrast and clarity in Lightroom. So first step was to figure out what editing software to use. I initially wanted to use my Windows desktop since it has decent specs (in which case the safe choice is Premiere). But I wasted a day on the iPhone not cooperating with Microsoft & Adobe, so I gave up and went for Final Cut Pro X (FCPX), on my work laptop.
Filtering footage is straightforward enough — make a shortlist of takes with interesting enough content and find 3-4 seconds of usable footage within them (a segment with continuous camera motion/no jerking).
The choice of music dictates a lot about the length, tone and structure of the video so I had to find a song first. To avoid dealing with copyright issues (especially for the scope of a project like this), I found a convenient channel with free music

Choosing the right soundtrack was challenging — there are so many! And again, I didn’t have enough experience to visualize what an edit with each soundtrack could look like. I got myself unstuck when I realized that I could play the music while scrubbing random shots in FCPX.
Putting together the video wasn’t too hard. There’s a lot of fancy stuff that can be done with transitions and interleaving different shots to set the mood, but my footage didn’t really lend itself to doing anything too fancy anyway (fancy transitions often require you to film with the transition in mind, which I didn’t). So I went with only straight cuts or fades.
The most difficult part was color grading, the process of mapping the colors in your video onto a particular palette to give the film an overall consistent look. See this super cool article on color grading in films for instance. I wanted to do some color grading since it won’t look as cinematic if it looks like any other iPhone video.
One way to do that was to apply a LUT (3D lookup table), which is basically a filter but for videos. I tried a whole bunch and none could make one shot look good without messing something in another. For example, if it made the landscape amazing in one shot, it’d mess up skin tones in another. In the end, I applied a light amount of a fairly simple LUT and added a tiny bit of teal & orange. The result’s fine, but I’m less satisfied with the color grading as with other parts of the process.

For next time
In the process, I learned how to use my equipment better. Initially, I was shooting at 24fps by default but switched to 60fps halfway in. The original rationale was that 24fps is the frame rate in movies and gives videos a more cinematic look. The problem was that didn’t actually work in my case. The cinematic look comes from increased motion blur, but you can only get motion blur if the shutter is open long enough, which it almost never was since I was mostly shooting in bright daylight. In the future, I’ll have to get an ND filter to use 24fps. Otherwise, 60fps is nice since most shots look more cinematic slowed down without screaming SLOW MOTION the way 120fps does.
I never got the tracking feature on the gimbal to work, but I also found halfway in that manual tracking wasn’t that hard, so I’ll probably do more of that.
Now that I’ve acquainted myself with some of the basics, things to do in the future include:
- Working on having more coverage
- Planning for more advanced transitions
- Shooting with the intended color grading in mind
- And more!
Thanks for reading!
